How to Cut a Square Hole for Square Recessed Spotlights!
How to Cut a Square Hole for Square Recessed Spotlights!
Recessed spotlights give your interior a sleek, modern look. But while round spots are the standard, square recessed spotlights are becoming increasingly popular. They look a bit sleeker and fit perfectly in a minimalist or industrial interior. However, cutting a square hole in the ceiling or in a plaster wall is just a bit more challenging than a round hole. Don't worry, with the right approach and tools, it's perfectly doable. In this blog, you'll learn how to do it.
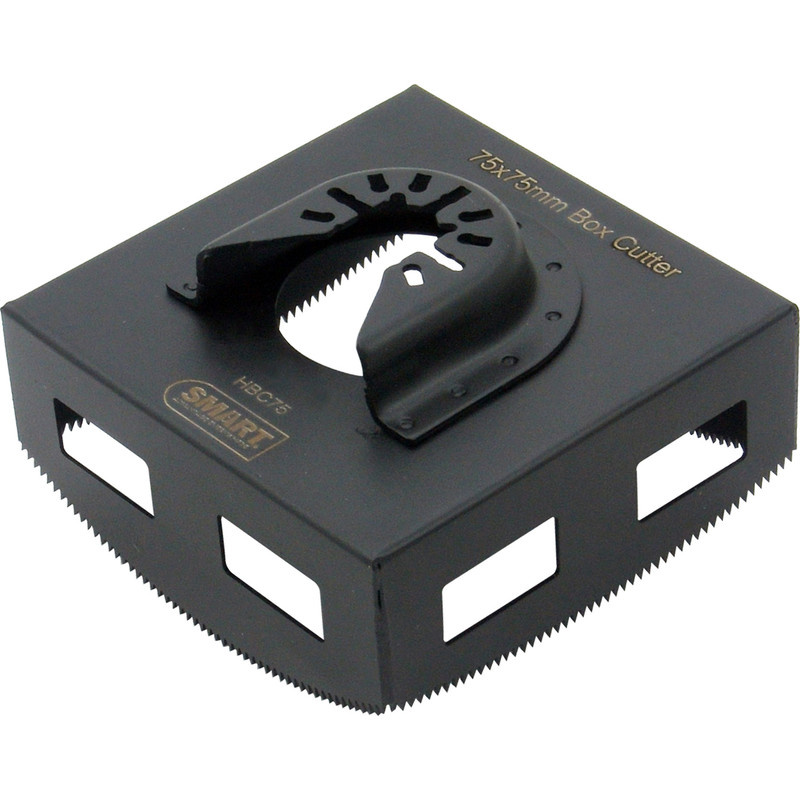
The Smartest Tool: The Square Hole Saw
When installing ceiling spotlights, round hole saws are usually used. But for square spotlights, there is a special tool: the square hole saw.
What is it?
A square hole saw is a handy saw specifically designed to make perfect square holes in, for example:
- Plasterboards
- MDF
- Wood fiberboards
Some models work via a multi-tool, others connect to a drill.
Step by Step: How to Use the Square Hole Saw
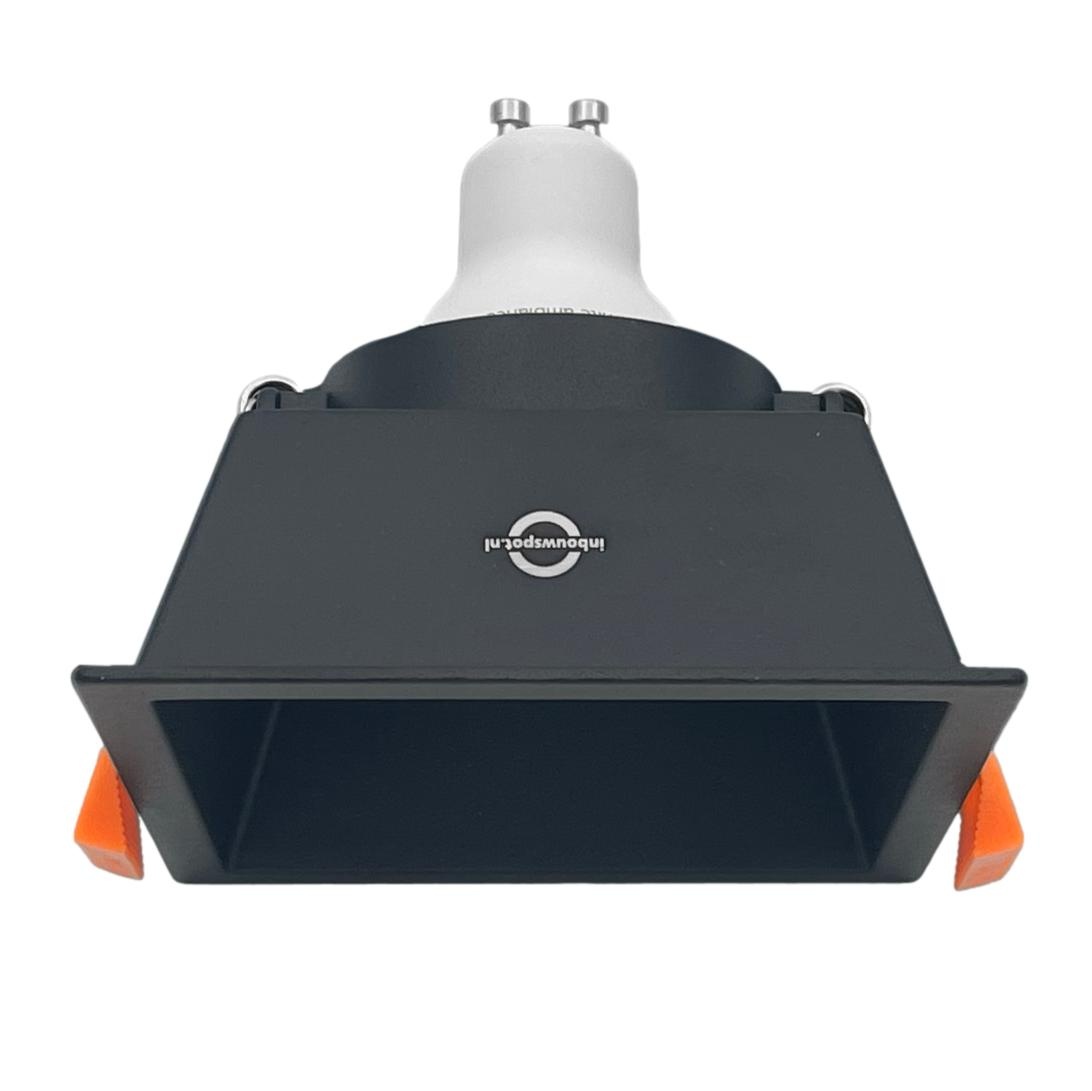
- Measure the hole size of the recessed spotlight
Check the installation dimension of your LED spot (e.g., 75 x 75 mm). This can usually be found on the packaging or in the manual. The standard hole size for recessed spotlights with a GU10 fitting is between 70 and 79 mm.
- Determine and mark the location
Determine the placement of your spot, for example, in a symmetrical pattern or not, mark with a pencil or use a template. Tip: don't make it a runway!
- Cut the hole
Then place it in the desired position where the recessed fixture should come, and in a few seconds, you'll saw a perfectly square hole, without stress or crooked edges.
- Fit the spot
Test if the spot fits well in the hole. Thanks to the hole saw, it will almost always fit immediately, without trimming or touching up.
Result: Professional Finish Without Hassle
The result is a professionally cut spot hole, perfectly matching your square recessed spotlight. No torn edges, no measurement errors, just a sleek ceiling with stylish, modern lighting.
Making a Square Hole with a Multi-Tool for Recessed Spotlights
Don't have a square hole saw at home, but do you have a multi-tool? Then you can also use it to make a neat square hole for your LED recessed spotlight – especially in materials such as plasterboard or MDF. A multi-tool is precise, maneuverable, and ideal for smaller adjustments or one-time installations.
Here's how to do it step by step.
What Do You Need?
- Multi-tool with a suitable saw blade (plunge or segment blade, fine-toothed)
- Pencil and tape measure
- Spirit level or straight ruler
- Drill (for pre-drilling the corners)
- Safety glasses and dust mask
- Recessed spotlight of the correct size (for marking)
Step 1: Marking the Hole
- Measure the installation dimension of your spot.
➤ Most recessed spotlights have a hole size between 70 and 79 mm. - Draw the square on your ceiling or wall with a pencil, ruler, and spirit level. Make sure the lines are straight and perpendicular – especially with square spotlights, a deviation is quickly noticeable.
Step 2: Pre-drilling (optional but useful)
Drill small holes at the four corners of the drawn square (e.g., with an 8 mm drill). This gives you a clear corner marking and makes inserting the multi-tool blade easier and more precise.
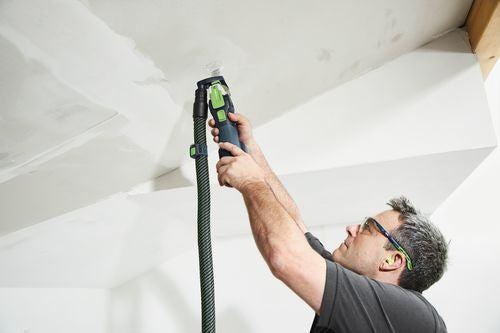
Step 3: Sawing with the Multi-Tool
- Attach the correct saw blade to your multi-tool – preferably a fine-toothed plunge saw blade for clean cuts.
- Start in one of the corners. Press the saw blade into the material (plasterboard or MDF) in a controlled manner and follow the line to the next corner.
- Saw side by side of the square, with short, controlled movements. Keep the blade straight and use a ruler as a guide if necessary.
- Work calmly and let the tool do the work. Try not to push – that causes fraying or crooked cuts.
Step 4: Fitting the Spot and Finishing
- Remove the cut-out part and test if the spot fits neatly into the hole.
- If the hole is slightly too small, you can easily trim a few millimeters with the multi-tool.
- Is the hole too big? You can use mounting rings or fill it with a mounting plate.
Safety Tips
- Turn off the power if you are working near electricity.
- Wear a dust mask for plasterboards to avoid fine dust.
- Use a sturdy ladder or step stool and ensure a stable work surface.
Summary
A multi-tool is an excellent alternative to a square hole saw, especially if you occasionally install a spot or need to modify an existing hole. It takes a bit more time and precision than a hole saw, but you can achieve neat results with it – especially with some patience and a steady hand.
Conclusion:
Cutting a square hole for recessed spotlights is a precise job, but with some preparation and the right tools, it is certainly achievable. And the result? A sleek finish that gives your interior a high-quality look.